Identifying Bathroom Fan Isolator Switch Position
Identifying the bathroom fan isolator switch position is crucial for safety and efficient operation. Operating a bathroom fan without proper isolation can lead to electrical hazards, such as electric shock or fire.
So, you’re dealing with the bathroom fan isolator switch, huh? Well, let me tell you, it’s not rocket science. Just make sure you know where it is. And while you’re at it, why not check out some awesome iphone 13 wallpaper ?
It’ll make your phone look fly. Back to the isolator switch, once you find it, you’ll be good to go. It’s as easy as pie, my friend!
There are several methods to locate the bathroom fan isolator switch:
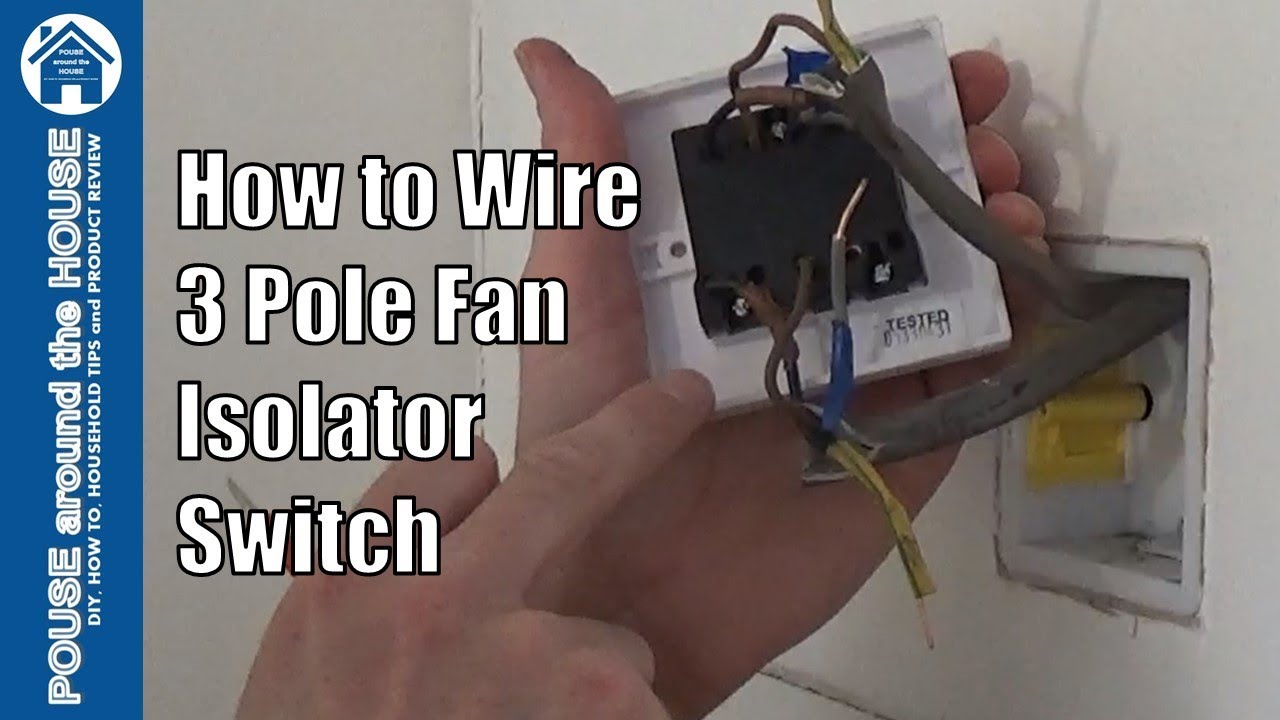
Inspecting the Bathroom Ceiling
- Look for a switch or pull cord near the fan unit on the ceiling.
- Check for a switch or pull cord on the wall near the fan.
Checking the Electrical Panel
- Identify the circuit breaker or fuse that controls the bathroom fan.
- Turn off the circuit breaker or fuse and check if the fan stops running.
Consulting an Electrician
- If you cannot locate the isolator switch yourself, it’s advisable to consult a qualified electrician.
- They can safely identify and label the isolator switch for future reference.
Understanding Isolator Switch Settings

Isolator switches for bathroom fans typically offer a range of settings that control the fan’s operation. Understanding these settings is crucial for ensuring the fan functions as intended and meets your specific requirements.
Fan Operation Settings
- Off: Disables the fan completely, preventing it from operating.
- On: Activates the fan continuously, regardless of other settings.
- Auto: The fan automatically turns on when the humidity level in the bathroom reaches a predetermined threshold and turns off when the humidity level drops.
- Timer: The fan operates for a set duration after being manually activated, then turns off automatically.
Selecting the Appropriate Setting
The appropriate setting for your bathroom fan depends on your specific needs and preferences. Consider the following factors:
- Humidity Levels: If your bathroom experiences high humidity levels, an “Auto” setting can help prevent condensation and mold growth.
- Ventilation Requirements: If you need constant ventilation, an “On” setting is suitable.
- Convenience: A “Timer” setting can provide ventilation after showers or other activities without requiring manual operation.
Troubleshooting Bathroom Fan Isolator Switch Issues
Hey folks, we’ve all been there – that moment when your bathroom fan decides to take a break, leaving you with a steamy, foggy room. Don’t worry, it’s not the end of the world! In this segment, we’ll dive into some common bathroom fan isolator switch problems and provide some troubleshooting tips. But remember, if the issue persists, don’t hesitate to call in the pros.
Identifying Common Problems
First off, let’s identify some of the common issues you might encounter with your bathroom fan isolator switch:
- Switch not turning on: This could be due to a faulty switch, a blown fuse, or a tripped circuit breaker.
- Switch not turning off: This could indicate a stuck switch or a wiring problem.
- Fan not running even when the switch is on: This could be due to a faulty fan motor, a clogged fan vent, or a problem with the wiring.
Troubleshooting Steps, Bathroom fan isolator switch position
Now that we know what to look for, let’s go through some troubleshooting steps:
- Check the power supply: Make sure the circuit breaker or fuse that powers the bathroom fan is turned on and not tripped or blown.
- Inspect the switch: Remove the switch cover and check if the switch is loose or damaged. If it’s loose, tighten the screws. If it’s damaged, replace the switch.
- Test the fan motor: If the switch is working properly, check if the fan motor is running. You can do this by manually turning the fan blades. If the blades don’t move, the motor may be faulty and need to be replaced.
- Check the fan vent: Make sure the fan vent is not clogged with dust or debris. If it’s clogged, clean it out with a vacuum cleaner or a brush.
- Inspect the wiring: If all else fails, check the wiring connections. Make sure all the wires are properly connected and not loose or damaged. If you’re not comfortable working with electricity, call an electrician for assistance.
Yo, peeps! Just finished fiddling with the bathroom fan isolator switch, and let me tell you, it’s like a whole new world in there. The air is crisp, the tiles are gleaming, and the purple wallpaper hd is poppin’. I mean, who knew a fan could make such a difference?
Back to the isolator switch, remember to flick it back on after you’re done, or you might end up with a moldy bathroom. Peace out!
